- Tile Settings
- Front Tile Settings and Back Tile Settings
- Flip Settings
- Link Tile Settings
- Document Tile Settings
- Document Library Tile Settings
- Video Tile Settings
- Smart Tile Settings
- Twitter Feed Tile Settings
- Weather Tile Settings
Tile Settings

TILE SHAPE
First up is selecting your new Tile shape. Choose from small square, large square, horizontal rectangle or vertical. The default tile shape is the small square.
TILE ORDER
You can easily choose the order for each Tile. This order is based on a numerical order.
-
Typing 1 - this tile will be the first one to appear
-
Typing 2 - this tile will be the second one to appear.
-
Typing 3 - this tile will be the third one to appear
-
...
Tiles with the same value are ordered based on date of creation (older tiles first).
TILE STATUS
If you want the tile to be visible on your site choose "Active". If you don't want it visible choose the "Inactive" option.
TILE TYPE
This is a very important field. Here is where you get to define the type of your new Tile. You can choose from:
-
Plain
-
Link
-
Document
-
Document Library
-
Video
-
Smart Tile
-
Twitter Feed
-
Weather Tile
Front Tile Settings and Back Tile Settings
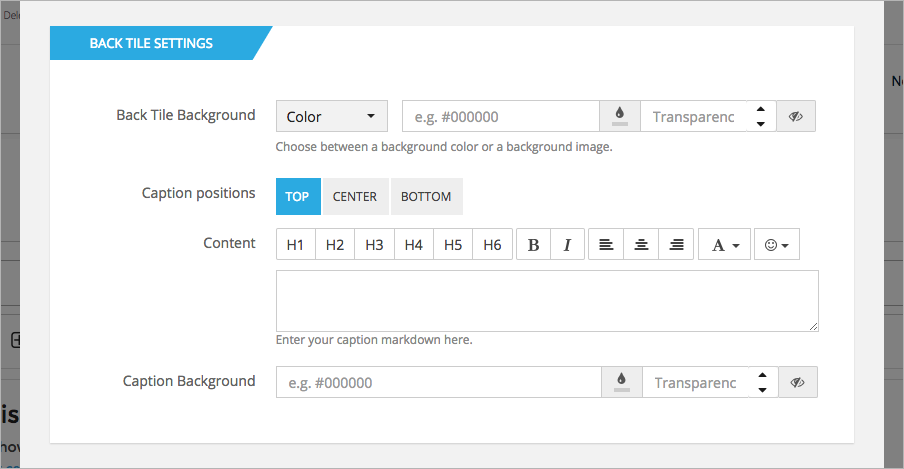
Depending on the type of the tile you choose, you can have a front tile and a back tile. The front tile is displayed by default and the back tile is displayed when the cursor hovers the tile or every few seconds.
TILE BACKGROUND
Set a color or image (when available) for the tile background.
CAPTION POSITIONS
Switch between the TOP, CENTER and BOTTOMS tab to add the content to each part of the tile.
CONTENT
Type the text you want for your tile. You can use the format buttons to define headings, alignment, weight, colors and add icons to the text.
CAPTION BACKGROUND
Defines a background to be used for each caption. Tiles have three captions, one for the top, one for the middle and another for the bottom of the Tile.
Flip Settings
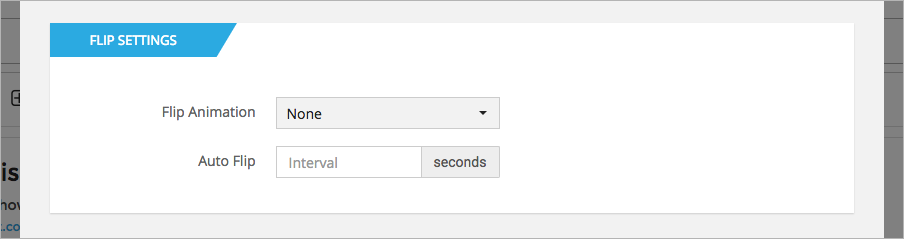
FLIP ANIMATION
When the tile supports a front and back tile, you can set what animation should be used to switch between the two. When “none” is selected, the back tile will never appear.
AUTO FLIP (in seconds)
Here you can define the seconds of the interval between the flip animations.
If the interval is 0, the tile will only flip whenever you place your cursor over it. If you define any other value, the tile will animate, revealing the back side or the next slide, every couple seconds. If no value is provided, the tile will animate every 5 seconds.
Link Tile Settings
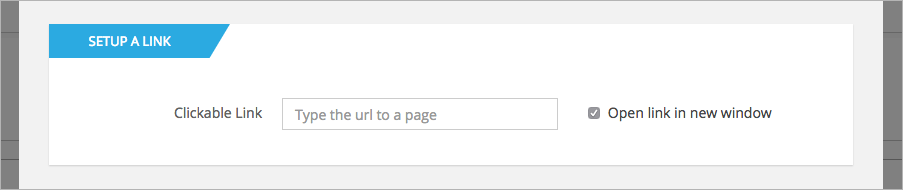
SETUP A LINK
When available, this section allows you to set up a link that opens whenever the tile is clicked on. You can also decide whether a new window should be opened or not by ticking the check box.
Document Tile Settings
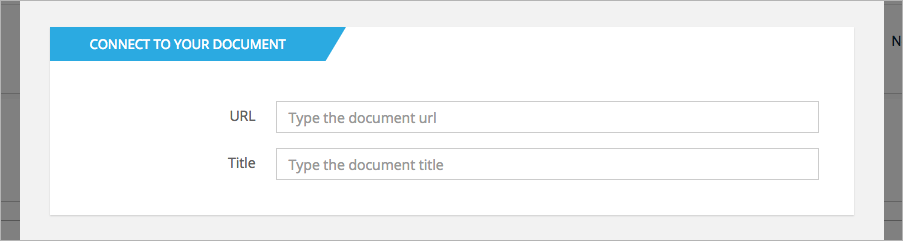
CONNECT TO YOUR DOCUMENT
Here you can define which resources you want to be opened whenever the tile is clicked on. The resource will be displayed inside a pop up window.
-
URL: Type here the URL the URL of the document that you want to add.
-
Title: Type here the title for the document window. If no tile is provided, it will be the same as the URL;
Document Library Tile Settings
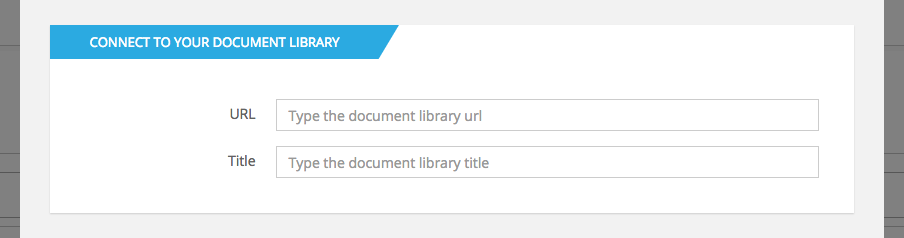
CONNECT TO YOUR DOCUMENT LIBRARY
-
URL: Type here the URL of the document library that you want to add.
-
Title: Type here the title for the document library window. If no tile is provided, it will be the same as the URL;
Video Tile Settings
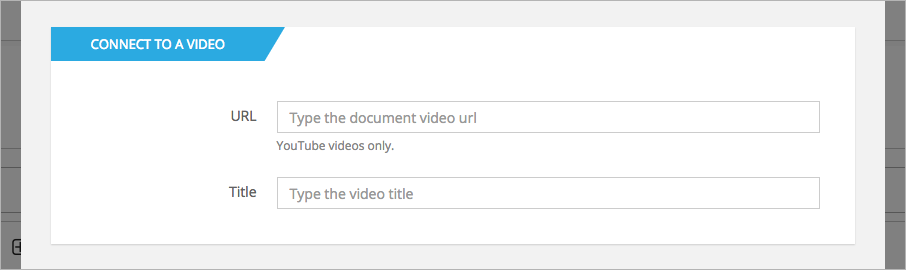
The video tile supports YouTube videos, Vimeo videos and portal videos.
CONNECT TO A VIDEO
-
URL: Type here the URL the URL of the video that you want to add.
-
Title: The title of the video. If no tile is provided, it will be the same as the URL;
Smart Tile Settings
Here you can add content to your tile from an external data source. Only thing you will need is a CAML query and choose the Smart Tile as the tile type.
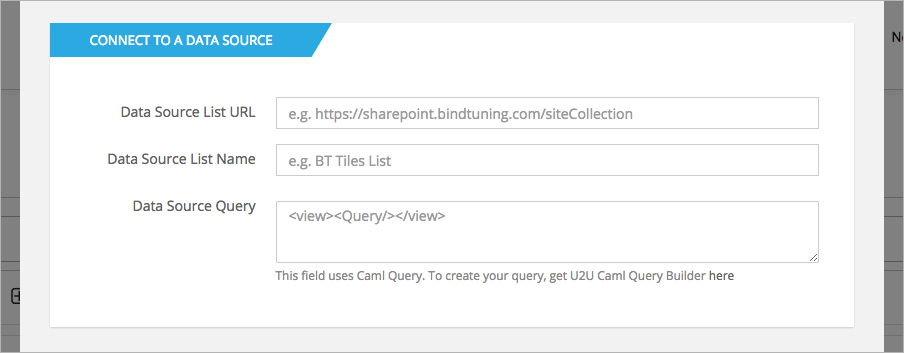
CONNECT TO A DATA SOURCE
-
Data Source List URL: The URL for the site where the source list is hosted.
-
Data Source List Name: The name of the list where you want to retrieve the values from.
-
Data Source Query: A CAML query used to retrieve the desired values from the list. This query should be contained inside a
tag. You can use a free 3rd party software for creating the query, like this one👉http://www.u2u.be/software/.
SETUP A LINK
When available, this section allows you to set up a link that opens whenever the tile is clicked on. You can also decide whether a new window should be opened or not by ticking the check box.
Twitter Feed Tile Settings
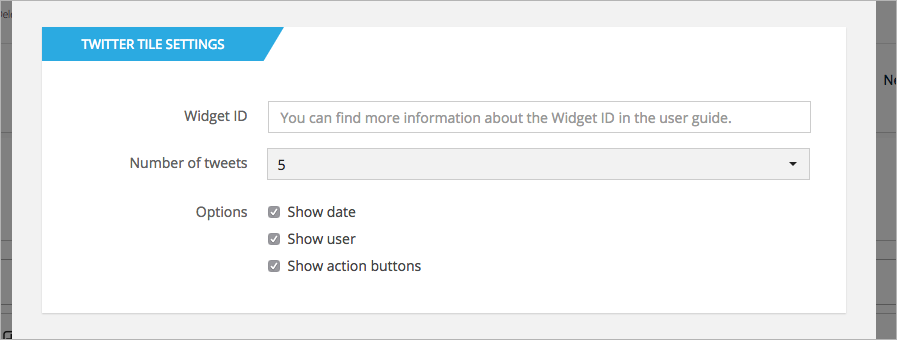
TWITTER TILE SETTINGS
-
Widget ID: The id of the widget where the information is going to come from. Check the section “Creating a twitter tile" to learn where to get this id.
-
Number of Tweets: How many tweets should be displayed on the tile. Maximum is 10.
-
Options:
- Show date: tick this option if you want the tile to show the date of each tweet.
- Show user: tick this option if you want the tile to show the user.
- Show action buttons: tick this option if you want the tile to show the action buttons in each tweet, including retweet and favorite.
Weather Tile Settings
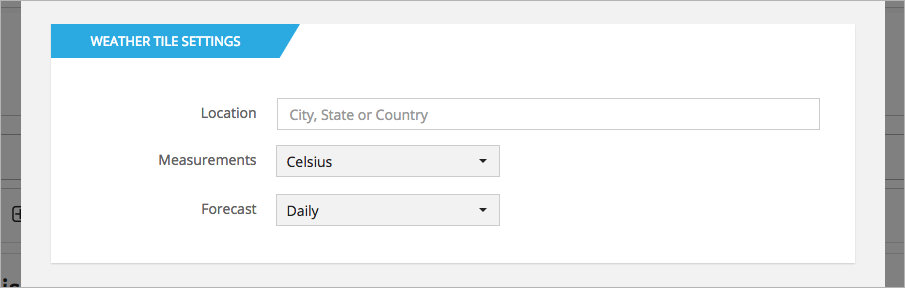
WEATHER TILE SETTINGS
-
Location: Where to read the forecast from. Can take the values of cities, states and countries. The format used is not strict but we recommend you use at least two identifiers. Example: “Seattle, USA”.
-
Measurement: Whether to display the returned values in Celsius or Fahrenheit units.
-
Forecast: Whether to show predictions for the day or the week.
After setting all the fields click "Save". You can also click "Save and create another" if you want to add more Tiles.